When a person becomes unresponsive, their airway may become blocked, preventing normal breathing. For a single rescuer, knowing how to open the airway correctly is vital. Proper airway management can save lives and improve the chances of recovery. This guide will explain step by step how a single rescuer can open the airway and provide breaths safely.
Understanding the Importance of Airway Management
The airway is the path through which air enters the lungs. When the airway is blocked, oxygen cannot reach the lungs, and the body’s organs begin to fail. Brain cells, in particular, are highly sensitive to a lack of oxygen. Brain damage can occur within minutes. That is why opening the airway and providing breaths is critical in any emergency.
As a single rescuer, you have to act quickly and effectively. Your goal is to maintain the airway, remove obstructions, and deliver oxygen to the person’s lungs until professional help arrives.
Initial Steps Before Opening the Airway
1. Check for Safety
Ensure the environment is safe for both you and the person. Remove any immediate dangers such as traffic, fire, or sharp objects. You cannot help someone effectively if you are at risk.
2. Assess Responsiveness
Gently tap the person’s shoulder and ask loudly, “Are you okay?” If there is no response, assume the person is unresponsive and needs help.
3. Call for Help
If possible, call emergency services immediately. If you are alone, use a speakerphone so you can start airway management while help is on the way.
4. Check Breathing
Look for normal breathing for no more than 10 seconds. If the person is not breathing normally, start the process to open the airway.
Techniques to Open the Airway for a Single Rescuer
There are several techniques used to open the airway. The method chosen depends on whether you suspect a spinal injury and the age of the patient.
1. Head Tilt-Chin Lift Method
The head tilt-chin lift method is the most common and effective way to open the airway for an adult or child without suspected neck injury.
Steps:
- Place the person on their back on a firm surface.
- Kneel beside their head.
- Place one hand on the forehead and gently tilt the head back.
- Place the fingertips of your other hand under the bony part of the chin.
- Lift the chin upward to open the airway.
- Check for breathing again.
This method moves the tongue away from the back of the throat, which is a common cause of airway blockage in unconscious individuals.
2. Jaw Thrust Method (Spinal Precaution)
If you suspect a neck or spinal injury, avoid tilting the head. Instead, use the jaw thrust method.
Steps:
- Kneel at the top of the person’s head.
- Place your fingers behind the angles of the lower jaw.
- Lift the jaw upward, moving the lower jaw forward without tilting the head.
- Check for breathing.
This technique opens the airway while minimizing movement of the cervical spine, which is important in cases of trauma.
Clearing the Airway
Sometimes, the airway is blocked by a visible object, such as food, vomit, or blood. Clearing the airway is crucial before giving breaths.
Steps to Clear the Airway:
- Look inside the mouth for any visible objects.
- Use a finger sweep only if you can see a solid object.
- Be careful not to push the object further back.
- For vomit or liquid, gently roll the person to the side and clear the airway using a cloth or your hand.
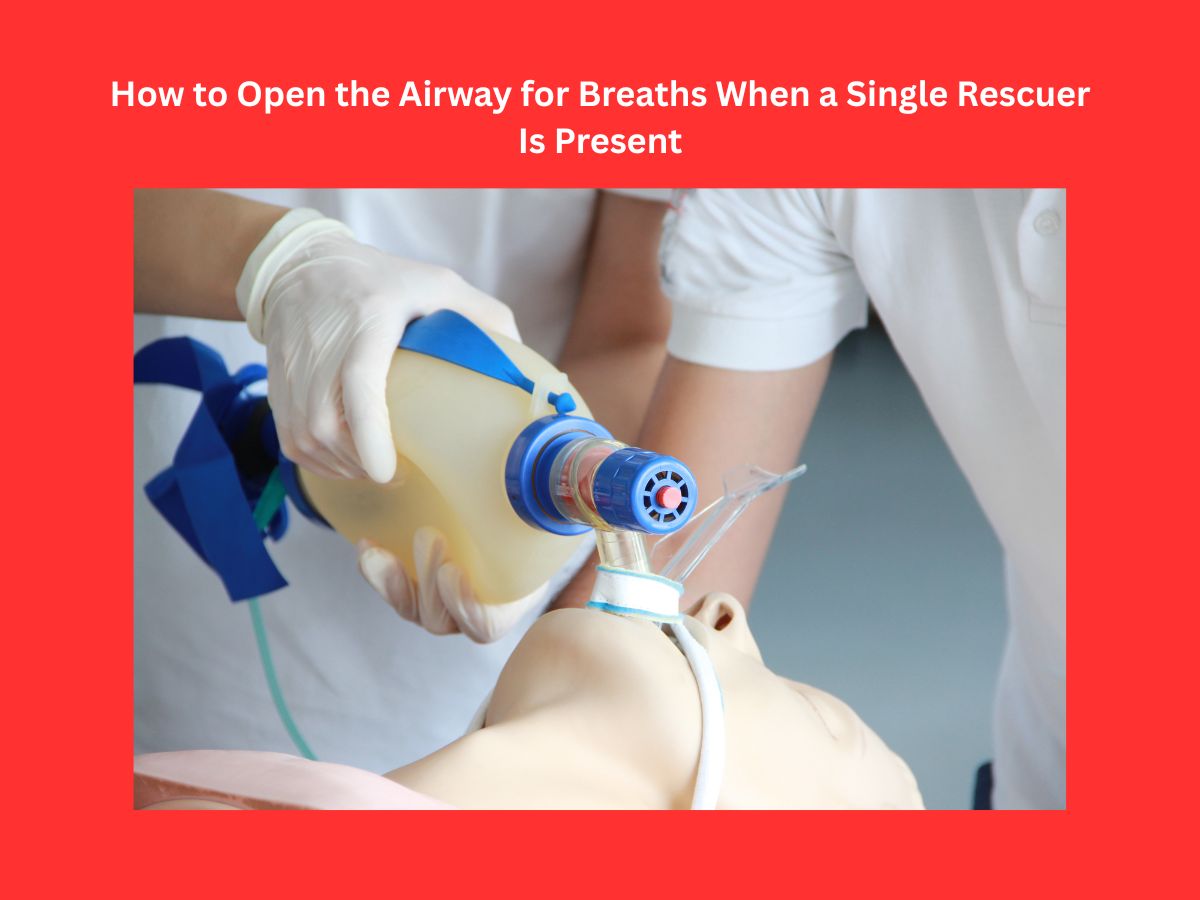
Providing Rescue Breaths as a Single Rescuer
Once the airway is open, you can give rescue breaths. Rescue breaths deliver oxygen directly into the lungs and help maintain vital functions until the person can breathe on their own or professional help arrives.
Mouth-to-Mouth Breathing
Steps:
- Pinch the person’s nose shut.
- Take a normal breath and cover their mouth with yours, creating a seal.
- Blow steadily for about 1 second, watching for chest rise.
- Remove your mouth and let the chest fall.
- Repeat for a second breath.
Mouth-to-Mask Breathing
If a mask is available, it can provide a safer and more effective way to give breaths. The steps are similar, but the mask provides a barrier between the rescuer and the person.
Timing and Sequence
For a single rescuer, the American Heart Association recommends a combination of chest compressions and rescue breaths. The general sequence is:
- Check responsiveness.
- Call for help.
- Open the airway using head tilt-chin lift or jaw thrust.
- Check for breathing.
- Give 2 rescue breaths if the person is not breathing.
- Start chest compressions immediately if the person has no pulse.
It is important to maintain a rhythm. A common ratio for adults is 30 chest compressions followed by 2 rescue breaths.
Special Considerations
Infants and Children: The head tilt should be gentle. The airway can be blocked more easily, so ensure the chin is lifted slightly and the head is in a neutral position.
Obese Individuals or Pregnant Women: Adjust the head tilt angle and chest compression technique to accommodate the body structure.
Vomiting or Fluids: Always clear the mouth and throat before giving breaths. Continuous rescue breaths without clearing the airway may be ineffective.
Mistakes to Avoid
Tilting the Head Too Far: Overextension can block the airway instead of opening it.
Not Checking for Obstructions: Giving breaths without clearing objects may push them deeper.
Slow or Shallow Breaths: Each breath should be enough to see the chest rise.
Pausing Too Long Between Compressions and Breaths: Minimize interruptions to maintain blood flow.
Safety Tips for Single Rescuers
- Always wear gloves or use a mask when possible to reduce infection risk.
- Keep your own body in a stable position to avoid injury while providing care.
- If alone, prioritize calling emergency services immediately before starting rescue breaths.
- Use both hands effectively to maintain the airway and give rescue breaths.
Summary
Opening the airway and providing breaths as a single rescuer is a vital life-saving skill. Start by ensuring the scene is safe and checking the person’s responsiveness, then call for emergency help. Next, open the airway using either the head tilt–chin lift or jaw thrust technique and clear any obstructions. Deliver two rescue breaths while observing for chest rise. If the person remains unresponsive and without a pulse, continue CPR. With practice, patience, and situational awareness, a single rescuer can manage an airway effectively, giving the individual the best chance of survival until professional help arrives.
Boost your confidence in lifesaving skills with Same Day CPR. We offer AHA certifications in ACLS, BLS, PALS, CPR, and First Aid. Start with the included online course, then join a brief hands-on session at any of our 80+ locations. Complete your training and receive your official American Heart Association certification card immediately, equipping you to respond quickly and effectively when it matters most. Sign up today and gain the skills to save a life.