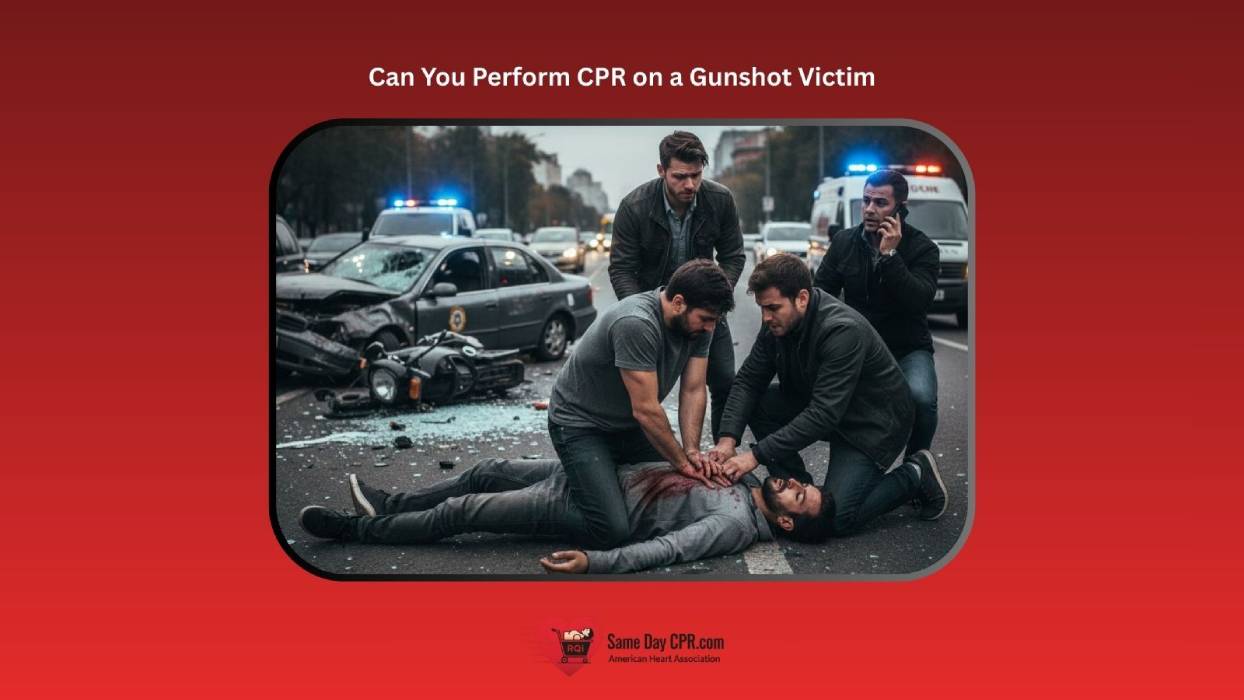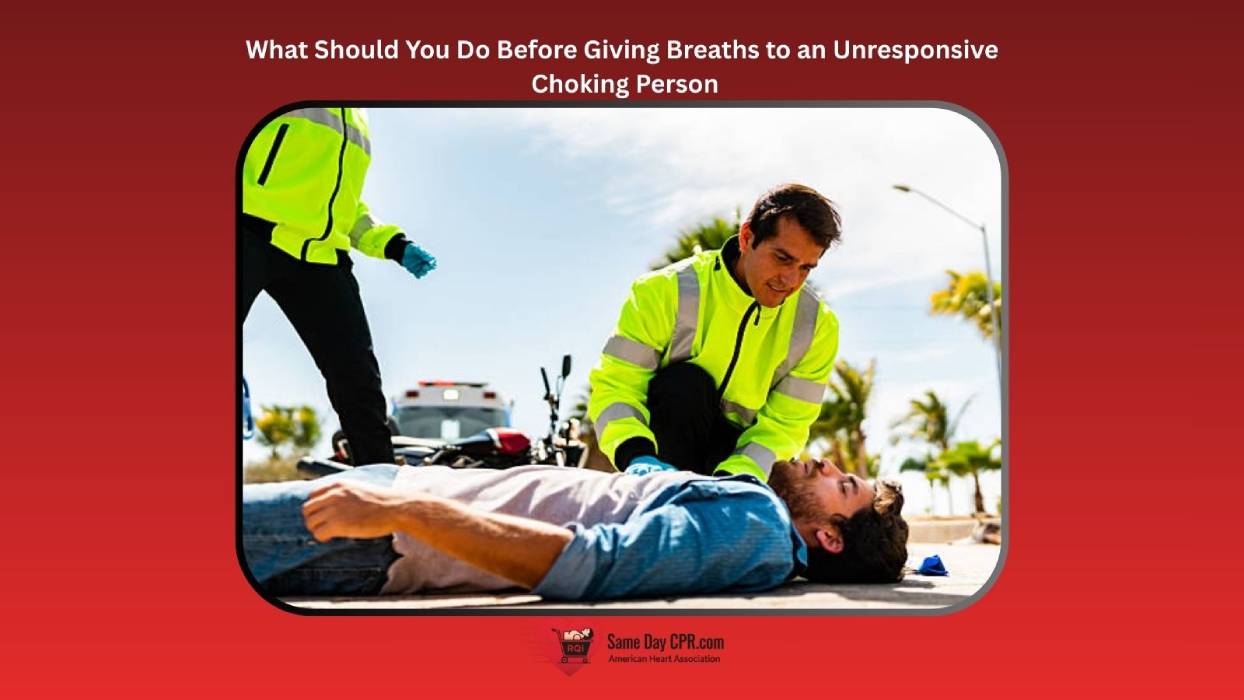
Choking can happen to anyone, anywhere, at home, school, a party, or on the road. While it’s a serious situation that can make a person unresponsive, knowing what to do before giving breaths to an unresponsive choking person is crucial because it can make a big difference. People of all ages face choking hazards from both food and small objects, with infants and toddlers being especially at risk from everyday items or tiny pieces of food. Therefore, keeping small objects out of their reach is important. For adults, risks include big bites, tough textures, and bones, especially if someone eats quickly or talks while eating.
Choking Signs In Responsive And Unresponsive Person
Choking signs differ between someone responsive and an unresponsive victim. This table highlights those differences.
| Choking Signs | Responsive | Unresponsive |
| Responsive | Showing Panic or Stress | Lack of Responsiveness |
| Ability To Make Noise | Clutching Throat | Silent Choking |
| Skin Colour | No Discoloration | Pale or Bluish Skin |
| Coughing | Continuous Coughing | No Coughing |
| Breathing | Strained or Noisy Breathing | Gasping, Irregular or No Breathing |
Steps To Take Before Providing Breath To An Unresponsive Choking Person
Choking is scary, but knowing the proper moves helps you act confidently. These few key steps can help you deliver the right care and save the life of an unresponsive victim.
- Check if the Person Is Awake: Look for signs of life and speak calmly to them. If they don’t respond, move to the next step.
- Call for Help Right Away: Ask someone nearby to call emergency services. If you’re alone, call yourself before you start further care.
- Give Firm Back Blows: Stand with the person facing you. Deliver several strong blows between the shoulder blades with the heel of your hand.
- Try Abdominal Thrusts: If back blows don’t free the airway, place your hands around the person’s abdomen, just above the navel. Give quick, inward, and upward thrusts. Repeat until air can flow again or the person loses consciousness.
Provide Breaths
If the person remains unresponsive after back blows, abdominal thrusts, or chest compressions, start giving breaths. Gently tilt their head back to open the airway and breathe into their mouth. Breaths help move air into their lungs when they can’t breathe on their own. Stay calm, watch for any signs of improvement, and keep going. Your breaths can make a real difference, so stay focused and continue until emergency help arrives or the person shows signs of life.
How to Give Rescue Breaths to an Unresponsive Choking Victim
When someone is choking and becomes unresponsive, giving rescue breaths can help bring air back into their lungs. Stay calm and follow these steps carefully to give them the best chance of recovery.
Step 1: Lift the Victim
If someone is choking and losing air, gently move them onto their back and keep them still. Make sure they’re lying flat so you can help clearly. Your goal here is to get a steady position so you can reach their mouth and chest easily. Stay calm, speak softly, and watch their chest for any small moves. If they have trouble breathing, you want to act quickly but carefully to set up the rest of the steps.
Step 2: Seal the Mouths
Open the person’s mouth and check for any objects you can see. If you can spot something, you may try to gently remove it with your finger, only if you can do it safely without pushing it deeper. If the mouth looks clear, close the victim’s lips and cover their mouth with yours to form a tight seal. A good seal helps air go into the lungs rather than leaking out around the edges. Keep your own face close enough to feel their breath.
Step 3: Blow into the Victim’s Mouth
Take a calm breath, then gently give two breaths into the mouth, watching the chest rise with each puff. Use smooth, steady pushes rather than quick bursts. Each breath should fill the lungs a bit, not force air in hard. If the chest does not rise, adjust your head position and seal again, then try a second breath. Your main goal is to provide enough air to start the chest rising and bring oxygen to the body.
Step 4: Observe Before Blowing Again
After your first two breaths, pause and look for any signs of life, such as movement, sounds, or breathing. If you see nothing, prepare for more breaths and check that your mouth-to-mouth seal is good. Stay patient and keep your pace steady. Feeling for life helps you know when to continue or switch to another rescue step.
Step 5: Analyze the Victim’s Condition
Take a moment to assess how the person is doing. Are they breathing weakly, not at all, or making strange noises? If breathing remains poor or absent, you should keep giving rescue breaths in a controlled rhythm. If there is some sign of life, you can adjust your actions to match what you see. Your careful watch helps decide when to push on with rescue breaths or call for more help.
Step 6: Provide Rescue Breathing to the Victim
Continue giving rescue breaths in a steady pattern, following the rhythm you were taught. If the chest rises with each breath, you’re on the right track and can keep going. If it stops rising, check your seal again and try to deliver air once more. Stay calm, protect the airway, and keep breathing until the person shows real signs of life or help arrives. Your steady care can make a real difference in their chances.
Quick Guide to Handling an Unresponsive Choking Victim
In short, before giving breaths to an unresponsive choking person, stay calm and act quickly. If you’re alone, call emergency services first, then start with chest compressions and back blows to try to free the airway. If someone is with you, have them call while you continue. When the airway is clear enough, tilt the head back gently and give rescue breaths, watching for the chest to rise with each breath. Use mouth-to-mouth or a mask if available, and proceed with breaths at a steady pace until help arrives or the person shows signs of life. Remember to follow local guidelines and seek formal training to be prepared for these moments.