


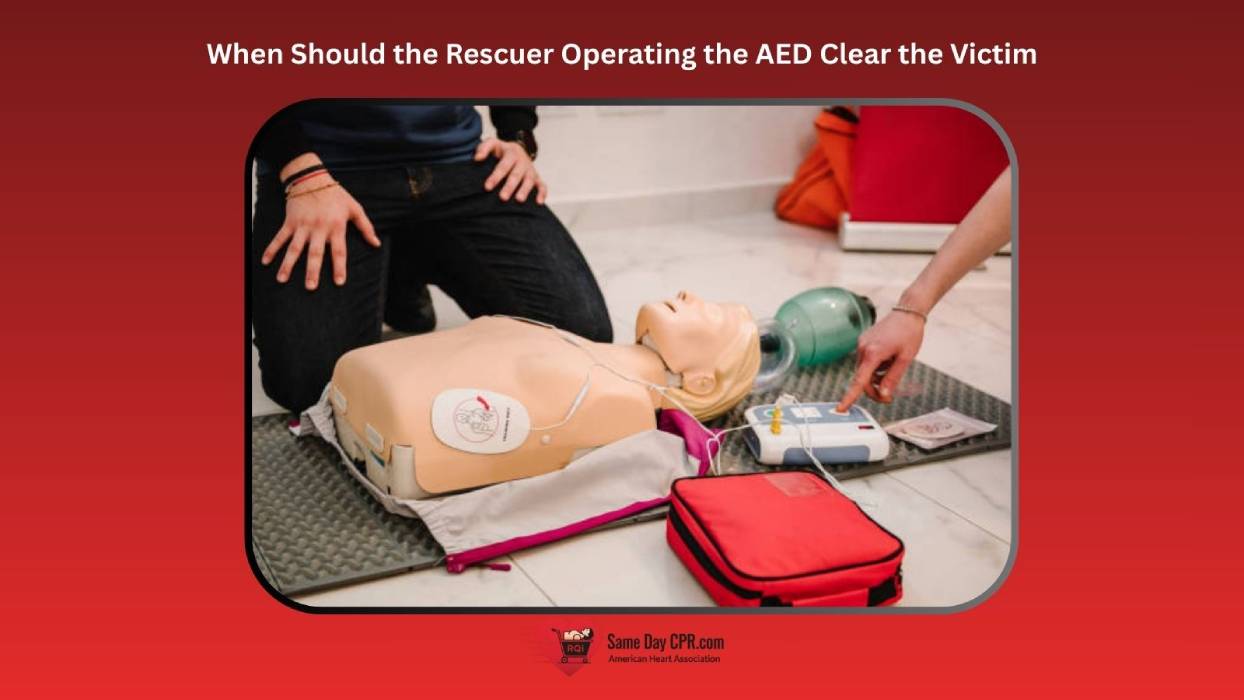
When an AED ( automated external defibrillator) is part of a rescue, timing matters, and safety comes first. The moment you bring the device to the scene, you’ll be thinking about delivering a shock, but you must first make sure the chest is clear of clothing, jewelry, and any objects that could interfere with the pads. Clearing the victim and pausing briefly helps the AED read the heart’s rhythm accurately and protects you from accidental shocks while the device analyzes. This blog covers who should be involved, when to pause, how long to wait, and the steps to take if a delay happens, so helpers, from first responders to lay rescuers and healthcare students, can act confidently and calmly.
Why Clearance of the Victim Matters
Clearing the victim helps ensure that no one is close and remains safe from the shock, and it also allows the AED to get a distinct reading of the heart to provide the correct treatment.
- Safety for Rescuers and Victim: Clearing the area keeps rescuers and the person safe from unexpected shocks. It also helps prevent injuries from nearby objects during the rescue.
- Accurate Rhythm Analysis: A clear space allows the AED to read the heart rhythm accurately. With a clean area, the device can decide the right treatment quickly.
- Effective Shock Delivery: When you use an AED, no one must be touching the person before you press the shock. This makes sure the shock goes directly to the heart without any interference.
- CPR Effectiveness: Clear surroundings allow chest compressions to be steady and strong. They stay effective because we can focus on the patient without distractions. Also, understand how to minimize interruptions in compressions when using an AED.
When to Clear the Victim (AED Use Scenarios)
Being aware of the right times to clear a victim or a person with an AED can greatly influence the chances of saving them. According to the CDC, one study found survival rates as high as 70% if AEDs are used within 2 minutes of collapse during cardiac arrest. Let’s cover the key moments when clearing is needed to maintain safety and effectiveness.
1. Before Oxygen/Movement Checks During Analysis
You should clear the victim before the AED begins its rhythm check. Make sure the person is not moving at all so the device can read the heart rhythm correctly. Even small movements can confuse the analysis, so step back, ask everyone to stay clear, and let the AED do its job safely.
2. During Rhythm Analysis
When the AED says it’s analyzing, make sure no one has their hands on the victim. Step back and remind others to stay clear so the device can get an accurate reading. Any touch, even light, can create false signals and interfere with the rhythm check.
3. Before Charging and Delivering a Shock
Before the AED charges and delivers a shock, double-check that nobody is touching the victim. Look around the chest area to be sure it’s clear, then loudly say “clear” so everyone steps back. This keeps the shock focused only on the heart and protects those giving care.
4. After Shock Delivery
Right after the shock is delivered, quickly make sure no one is still touching the victim, then go straight back into CPR if it’s advised. Don’t pause longer than necessary; the faster you restart compressions, the better the chances of keeping blood flowing.
5. Presence of Multiple Rescuers
When several rescuers are helping, it’s extra important to call out “clear” before analysis or shock. One person should take the lead in giving these commands so everyone knows when to step back. Clear communication keeps the team safe and ensures the AED works properly.
How to Clear the Victim Safely
Clearing the victim is all about keeping everyone safe while the AED does its work. Use clear words and quick actions so there’s no confusion, and care can continue without delay.
- Verbal Clear Commands: Say simple, firm phrases like “stand back” or “no one touching the patient.”
- Physical Clearance Actions: First, look to be sure all bystanders are away. Next, keep a safe distance from the chest. Finally, step back together in a calm, organized way.
- Verifying Silence Before Analysis/Shock: Make sure no compressions are happening if the AED tells you to pause, and check that hands, clothing, or equipment are clear of the chest.
- Time Guidelines: This should only take a few seconds. Once the analysis or shock is complete, get right back to CPR if needed.
Common Mistakes and How to Avoid Them
Using an AED can feel stressful, and small errors are easy to make at the moment. Knowing the most common mistakes and how to avoid them will help you act quickly and safely.
- Not Clearing Before Analysis/Shock: If you or someone else is touching the victim while the AED is analyzing or delivering a shock, it can cause the device to misread the heart rhythm or stop the shock from working.
- To fix this, always step back and loudly call out “clear” before pressing any buttons. Make sure everyone else around the victim also stays away until the AED finishes.
- Prolonged Clearance Time: Sometimes rescuers hesitate too long before analysis or shock, trying to be extra careful. While safety is important, delaying can reduce the chances of the heart restarting.
- The key is to act quickly but confidently, give a clear command, check that everyone is back, and let the AED do its job without unnecessary pauses.
- Inadequate Communication: Confusion or quiet instructions can cause delays or accidental contact with the victim.
- Use clear, simple phrases like “clear” or “stand back” so the team knows exactly what to do. Assign one rescuer to give these commands to keep everyone coordinated and safe.
- Interference from Jewelry or Patches: Metal, clothing, hair, existing medical patches, or even body movement can stop the pads from sticking properly or affect the AED’s reading.
- Always remove jewelry near the chest, shift medical patches if needed, and press the pads firmly on bare skin. Smooth out hair or clothing that could block contact. Proper pad placement ensures the AED can deliver a shock safely and effectively.
Training and Skills Reinforcement
Practicing AED skills regularly helps you feel confident in an emergency. Simple drills and checks make sure you can act quickly and keep everyone safe.
- Hands-on Drills: Practice makes perfect. Regularly run through AED scenarios with your team, making sure everyone gives and follows clear commands. Repeating these drills helps rescuers stay confident and act quickly when a real emergency happens.
- Checklists and Mnemonics: Simple memory tools make a big difference in stressful situations. Use checklists or easy-to-remember mnemonics like C-A-L-L, which stands for Clear, Analyze, Lift hands, Leave area. You can also create custom phrases that fit your team’s routine to ensure no steps are missed.
- Equipment Checks: An AED only works if it’s ready. Regularly inspect pads, batteries, and all safety features. Checking your equipment in advance prevents delays and ensures the device will perform correctly when it’s needed most.
Legal and Safety Considerations
Understanding legal and safety rules helps you protect both the victim and yourself. Knowing what to do before, during, and after using an AED keeps the response safe and effective.
- Good Samaritan Guidelines: As a rescuer, your main responsibility is to keep everyone safe, including yourself. Clearing the victim before analysis or shock is part of that duty. Following these guidelines helps protect both you and the person in need.
- Precautions to Prevent Harm: Always take steps to reduce risk. Use personal protective equipment (PPE) like gloves, and quickly check the surroundings for hazards such as water, traffic, or unstable surfaces. Making these checks before acting keeps everyone safe.
- Documentation Notes: It’s important to record what you did during the emergency, including when and how you cleared the victim. Note any challenges, like delays or obstacles, so your report is complete and can help with future training or review.
Clear the Victim, Then Shock: Safe AED Use in All Responder Roles
In short, ensuring everyone is clear before and during AED use is key to keeping both the rescuer and the victim safe. By keeping hands and objects away, the team allows the AED to read the heart rhythm accurately and deliver a shock when needed. Clear verbal cues, smooth teamwork, and immediately resuming CPR after a shock help keep blood flowing and improve the chances of a good outcome. With regular practice, simple reminders, and an understanding of safety and legal guidelines, anyone, from experienced responders to students, can act calmly and confidently.
Same Day CPR makes learning these lifesaving skills simple and convenient. We offer AHA Gold Standard certifications in ACLS, BLS, PALS, CPR, and First Aid, prepared to fit your busy schedule. You’ll start with an easy online course, then finish with a quick 30-minute hands-on skills session at one of our 60+ convenient locations. You’ll walk out with your official AHA certification card the same day, ready to respond with confidence when it matters most. Sign up today and be prepared to make a difference in an emergency.


