-
 30,000+ Students Sucessfully Trained Annually
-
30,000+ Students Sucessfully Trained Annually


 30,000+ Students Sucessfully Trained Annually
Master the American Heart Association Basic Life Support concepts with clear explanations, step-by-step algorithms, visual learning, and exam-focused review. This guide covers adult, child, and infant BLS, AED use, airway management, team dynamics, and essential skills for healthcare professionals preparing for certification or renewal.
Basic Life Support, commonly known as BLS, is a set of lifesaving skills used to recognize and respond to medical emergencies such as cardiac arrest, respiratory arrest, and choking. Healthcare professionals use BLS to assess the patient, maintain blood circulation and breathing, and provide immediate care until advanced medical treatment becomes available.
BLS includes high-quality CPR, rescue breathing, AED use, pulse assessment, airway management, scene safety, and effective team communication. These skills are used in hospitals, emergency departments, clinics, ambulances, long-term care facilities, and other healthcare settings to improve patient outcomes during critical emergencies.
Verify that the scene is safe before approaching the person. Use personal protective equipment (PPE) if available to reduce exposure risks.
Check responsiveness, breathing or gasping, and pulse at the same time. Complete this assessment within 10 seconds or less.
Activate the emergency response system, call 911 using speaker mode, and send someone to get an AED if available.
If there is no definite pulse, begin CPR immediately. If a pulse is present but the person is not breathing normally, provide rescue breaths.
High-quality CPR requires proper compression technique, appropriate depth, effective ventilation, and minimal interruptions. CPR steps vary slightly by age group, but all rescuers should maintain a compression rate of 100 to 120 compressions per minute, allow complete chest recoil, and provide effective breaths as needed.
| CPR Component | Adult | Child | Infant |
| Age Range | Puberty and older | 1 year to puberty | Under 1 year, excluding newborns |
| Compression Rate | 100 to 120 compressions per minute | 100 to 120 compressions per minute | 100 to 120 compressions per minute |
| Compression Depth | At least 2 in (5 cm), but not more than 2.4 in (6 cm) | At least 1/3 of the chest depth, approximately 2 in (5 cm) | At least 1/3 of the chest depth, approximately 1.5 in (4 cm) |
| Hand Position | Place two hands on the lower half of the sternum | Place one or two hands on the lower half of the sternum | Use the heel of one hand or two thumb encircling hands on the sternum; do not use two fingers. |
| No Advanced Airway | For 1 or 2 rescuers, use a ratio of 30 compressions to 2 breaths. | 30 compressions to 2 breaths for one rescuer; 15 compressions to 2 breaths for two rescuers | 30 compressions to 2 breaths for one rescuer; 15 compressions to 2 breaths for two rescuers |
| Advanced Airway | Continuous chest compressions with 1 breath every 6 seconds. | 1 breath every 2 to 3 seconds (20 to 30 breaths per minute) | 1 breath every 2 to 3 seconds (20 to 30 breaths per minute) |
| Pulse Present but No Normal Breathing | Provide 1 breath every 6 seconds (10 breaths/min). | 1 breath every 2 to 3 seconds (20 to 30 breaths per minute) | 1 breath every 2 to 3 seconds (20 to 30 breaths per minute) |
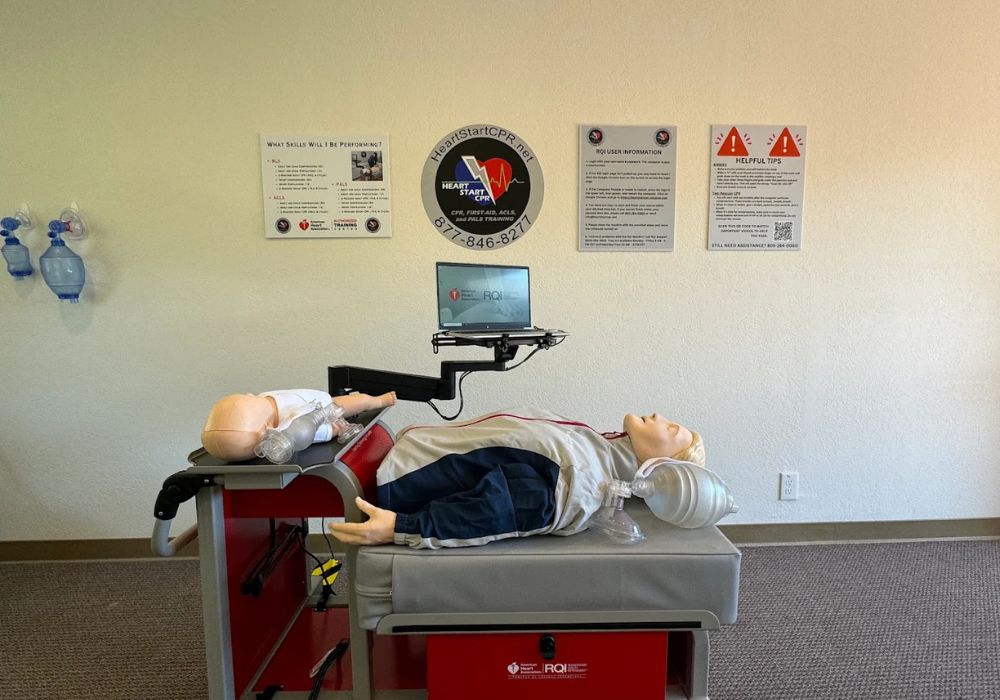
Activate the emergency response system, send someone to get an AED, and begin CPR without unnecessary delays. Provide 30 compressions followed by 2 breaths when alone. If a second rescuer arrives, switch to a 15:2 compression-to-ventilation ratio.
Leave the child or infant to activate the emergency response system and get an AED before starting CPR. A witnessed sudden collapse may indicate a cardiac cause, making rapid access to emergency help and defibrillation important.
Provide about 2 minutes of CPR before leaving to activate the emergency response system and get an AED. Resume CPR immediately after returning and continue until help arrives or the child or infant shows signs of life.
Power on the AED and follow the voice or visual instructions provided by the device.
Expose the person’s chest and place the AED pads exactly as shown in the diagrams on the pads. Ensure the pads have proper contact with the skin.
Make sure everyone moves away from the person while the AED analyzes the heart rhythm. Do not touch the person during this process.
If the AED recommends a shock, confirm that everyone is clear of the person, then press the shock button to deliver one shock.
After the shock is delivered or if no shock is advised, restart CPR immediately. Begin with chest compressions and continue for about 2 minutes before the next AED analysis.
Continue CPR and follow AED prompts until advanced medical care takes over or the person shows signs of life.
Use pediatric pads or an attenuator when available, and attach the AED as soon as possible. If pediatric equipment is unavailable, an AED without an attenuator may be considered. Use the largest pads that fit without touching each other. When space is limited, use front and back pad placement.
Power On → Pads On → Clear Analysis → Clear Shock → Resume CPR
Effective ventilation supports oxygen delivery while avoiding excessive breaths that can interfere with blood flow during CPR. The approach changes slightly based on the age group and the person’s condition.
| Ventilation Component | Adult | Child and Infant |
| Pulse Present but No Normal Breathing | Provide 1 breath every 6 seconds (10 breaths per minute) | Provide 1 breath every 2 to 3 seconds (20 to 30 breaths per minute) |
| How to Give Each Breath | Deliver each breath over about 1 second, using enough air to create visible chest rise | Deliver each breath over about 1 second, using enough air to create visible chest rise |
| Reassessment | Recheck the pulse about every 2 minutes | Recheck the pulse about every 2 minutes |
Open the airway and provide enough air to produce visible chest rise. If the chest does not rise, reposition the airway and improve the seal. Avoid excessive ventilation, as this can reduce blood flow during CPR.
Open the airway and provide breaths at a rate appropriate for the person’s age. If available, give an opioid antagonist such as naloxone. Recheck the pulse every 2 minutes.
Begin high-quality CPR with compressions and breaths. Use the AED. If naloxone is available, it may be given as long as CPR, AED use, and activation of emergency care are not interrupted.
If the person can cough or make sounds, encourage continued coughing and monitor them closely. Continue to observe them unless the obstruction becomes severe.
If the person has a weak or absent cough, cannot speak or make sounds, develops a change in skin color, shows altered mental status, or stops breathing, the obstruction may be severe.
Give 5 back blows, followed by 5 abdominal thrusts. Repeat the sequence. During late pregnancy or when the abdomen cannot be encircled, use chest thrusts instead of abdominal thrusts.
Start CPR with chest compressions. Before giving breaths, look in the mouth for a visible object.
Give 5 back blows, followed by 5 abdominal thrusts. Repeat the sequence.
Start CPR with chest compressions without pausing to check for a pulse. Before giving breaths, check the mouth for a visible object.
Give 5 back blows followed by 5 chest thrusts using the heel of one hand. Do not perform abdominal thrusts.
Begin CPR immediately without pausing for a pulse check. Before giving breaths, look inside the mouth for a visible object.
Always activate the emergency response system when a person has severe choking. Remove a visible object from the mouth only if you can clearly see it. Never perform a blind finger sweep.
Effective teamwork improves CPR quality by reducing interruptions and ensuring critical tasks are completed efficiently. Clear communication and defined responsibilities help the team respond quickly during a cardiac arrest.
Assign team members specific responsibilities based on the resources available. Common roles include the compressor, airway and ventilation provider, AED or monitor operator, team leader, and recorder.
Address the team member by name and give a clear, specific task. Confirm that the instruction is understood and acknowledge when the task is completed.
Switch the person performing chest compressions about every 2 minutes or sooner if compression quality begins to decline.
The two-finger compression technique is no longer recommended for infants. Use either the heel of one hand or the two-thumb encircling hands technique for chest compressions.
Adults and children with severe choking should receive 5 back blows followed by 5 abdominal thrusts. Infants should receive 5 back blows followed by 5 chest thrusts.
Naloxone is included in both adult and pediatric BLS pathways. Administer it without delaying CPR, rescue breaths, AED use, or activation of the emergency response system.
Current recommendations place greater emphasis on a unified Chain of Survival, early AED use, high-performance resuscitation teams, inclusive emergency response scenarios, and CPR quality feedback to improve resuscitation performance.
This guide is intended for educational purposes only. Content does not replace an approved BLS course, current local protocols, employer requirements, or professional medical judgment. Always follow the latest recommendations and your organization’s policies when providing emergency care.
Guidelines hub and highlights.
cpr.heart.org/en/resuscitation-science/cpr-and-ecc-guidelines
Adult recognition, CPR, AED use, ventilation, choking management, and algorithms.
cpr.heart.org/en/resuscitation-science/cpr-and-ecc-guidelines/adult-basic-life-support
Child and infant CPR, AED use, ventilation, choking management, and algorithms.
cpr.heart.org/en/resuscitation-science/cpr-and-ecc-guidelines/pediatric-basic-life-support
Audience, course formats, training duration, and two-year provider card.
cpr.heart.org/en/cpr-courses-and-kits/healthcare-professional/basic-life-support-bls-training
Official American Heart Association guidance covering instructor-led course requirements and course FAQs.
Official AHA BLS instructor-led training FAQ
Naloxone, rescue breathing, CPR, and guidance for opioid related emergencies.
cpr.heart.org/en/resuscitation-science/cpr-and-ecc-guidelines/special-circumstances-of-resuscitation
This independent summary paraphrases publicly available AHA guidance for study purposes. American Heart Association, AHA, and HeartCode are trademarks of the American Heart Association. No endorsement or affiliation is implied.
Quick Action can save a life. Stay calm, follow your training and use the AED.

EDUCATIONAL USE ONLY: This guide does not replace an approved BLS course, current locol protocols or professional medical judgement.
BLS certification is commonly required for healthcare professionals, including nurses, doctors, EMTs, and other medical staff. The training is also valuable for caregivers, childcare providers, fitness professionals, lifeguards, teachers, and workplace safety personnel who may need to respond to emergencies.
BLS certification stays valid for two years from the completion date. Renewal before the expiration date keeps skills current and avoids a lapse in certification.
BLS courses are commonly taken by healthcare professionals and students, including nurses, physicians, EMTs, and allied health workers. However, no healthcare background or previous certification is required to enroll. Beginners can also take BLS courses to learn essential life support skills and emergency response techniques.
Reviewing CPR techniques, AED operation, emergency response steps, and BLS guidelines can help participants prepare for the course and skills assessment.
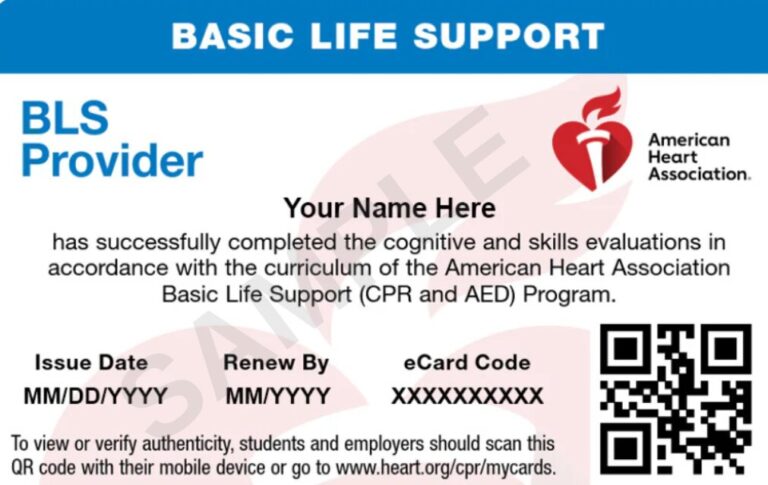
You will receive your American Heart Association certification card on the same day after completing the course requirements and skills evaluation. The electronic certification card is issued after completion, allowing you to access and provide proof of certification without waiting for additional processing.