



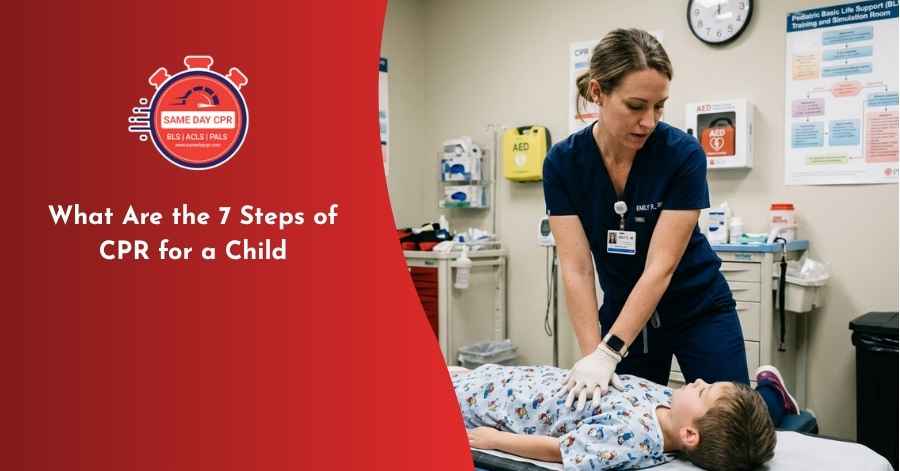
Imagine a child suddenly collapses and does not respond. It can be frightening, but knowing the basic steps of child CPR can help you act quickly while emergency medical services are on the way.
Child CPR generally applies to children from about 1 year of age until puberty. For children who show signs of puberty, adult CPR guidelines are generally used.
According to the 2025 pediatric basic life support guidelines, if a child is unresponsive and is not breathing normally or is only gasping, CPR should be started promptly. Lay rescuers should not delay CPR to check for a pulse.
The 7 steps of child CPR are:
- Make sure the scene is safe.
- Check whether the child responds and call for help.
- Check for normal breathing and signs of life.
- Start chest compressions.
- Give 2 breaths.
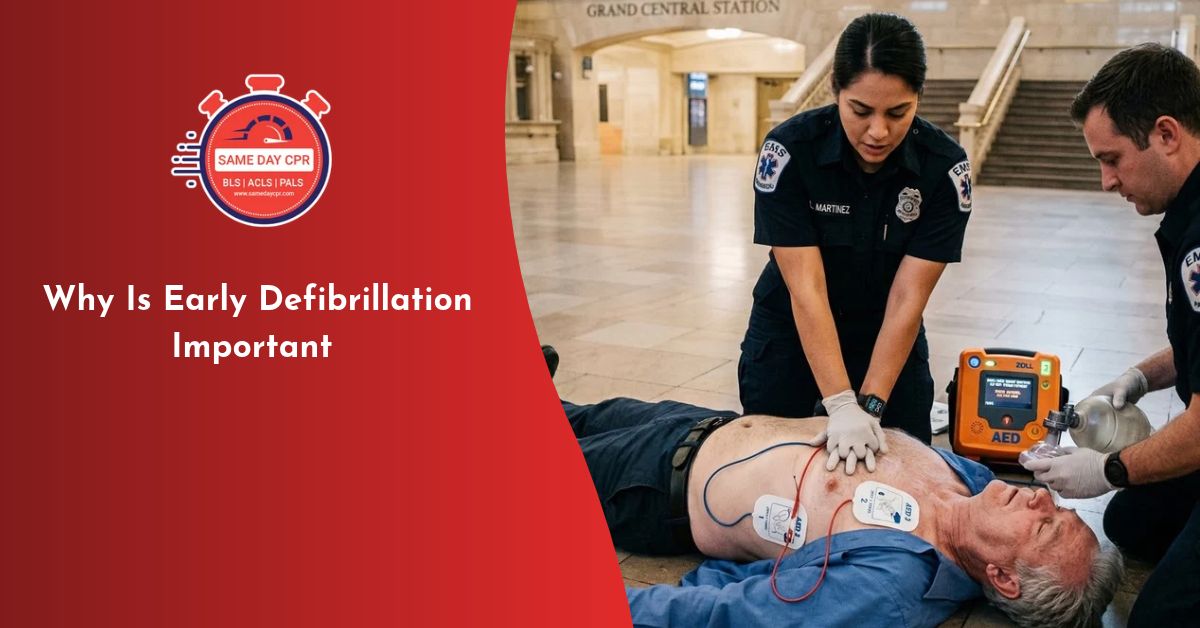
- Use an AED as soon as it is available.
- Continue CPR until help takes over.
Let’s look at each step in detail.
Step 1: Make Sure the Scene Is Safe
Before approaching the child, quickly check the area for immediate dangers.
Look for hazards such as:
- Traffic or moving vehicles
- Fire or smoke
- Live electrical wires
- Falling objects
- Dangerous chemicals
- Other immediate threats
Do not put yourself in danger while trying to help the child. If the area is unsafe, move the child only when necessary and when you can do so safely.
Once the scene is safe, quickly assess the child.
Step 2: Check If the Child Responds and Call for Help
Check whether the child responds.
Gently tap the child’s shoulder and speak loudly. You can ask: “Are you okay?”
If the child does not respond:
- Shout for help.
- Activate your local emergency response system.
- Ask someone nearby to get an AED if one is available.
If the child is not breathing normally or is only gasping, prepare to start CPR immediately.
If you are a lay rescuer, do not spend time trying to find a pulse. The priority is to recognize the emergency and begin CPR without unnecessary delay. It is important to understand how a child is defined in terms of CPR/AED care.
Step 3: Check for Normal Breathing and Signs of Life
Look at the child’s chest and face to determine whether the child is breathing normally.
- Normal breathing should be regular.
- Gasping is not normal breathing.
If the child is unresponsive and is not breathing normally or is only gasping, begin CPR.
Should you check for a pulse?
- If you are a lay rescuer, no. Do not delay CPR while trying to find a pulse.
- Trained healthcare professionals may check for a pulse in specific circumstances, but the assessment should not delay CPR.
This distinction is important because spending too much time searching for a pulse can delay lifesaving chest compressions.
Step 4: Start Chest Compressions
If the child is unresponsive and not breathing normally, begin chest compressions. Knowing the target rate for chest compressions in children can help you maintain the correct pace during CPR.
- Position the child: Place the child on their back on a firm, flat surface.
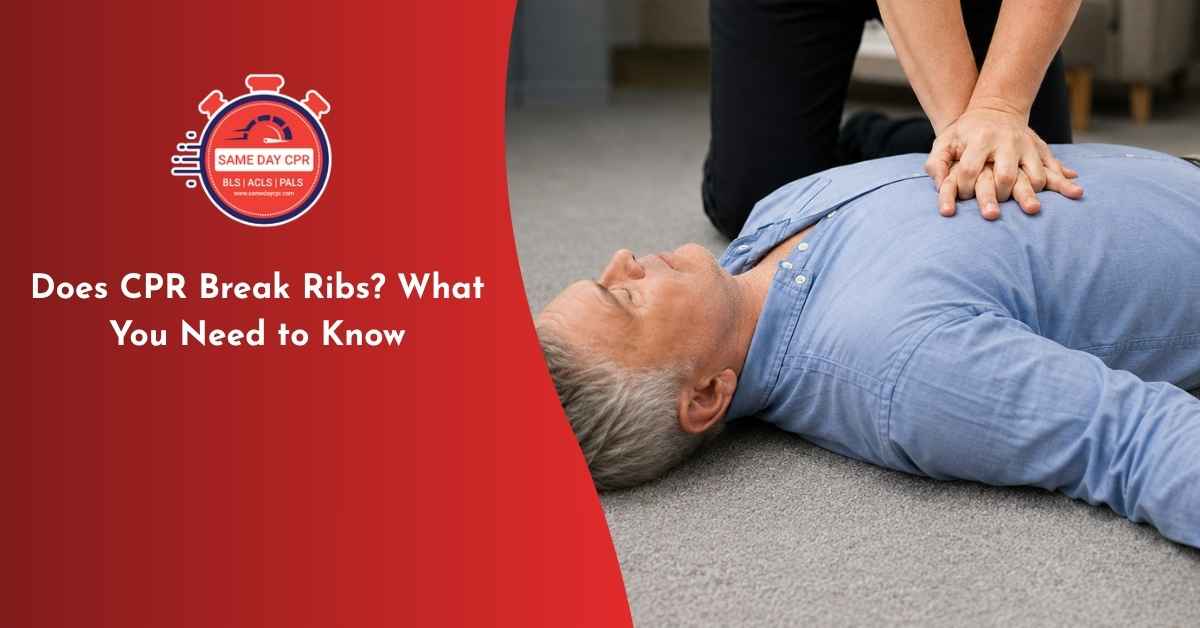
- Position your hands. For a child, you can use one or two hands, depending on the child’s size and which method allows you to compress the chest effectively. Place the heel of your hand or hands on the center of the chest, over the lower half of the breastbone.
- Use the correct compression rate. Perform chest compressions at 100 to 120 compressions per minute. Try to maintain a fast, steady rhythm.
- Use the correct compression depth. Compress the chest at least one-third of its front-to-back depth, which is approximately 2 inches (5 cm) for a child. Avoid compressing too shallowly.
- Allow complete chest recoil. After every compression, allow the chest to return fully to its normal position. Do not lean on the chest between compressions.
- Keep interruptions short. Try to keep pauses in chest compressions as short as possible. Resume compressions promptly after giving breaths or using an AED.
Step 5: Give 2 Rescue Breaths
Children can experience cardiac arrest because of breathing problems, which makes breaths an important part of pediatric CPR.
For a single rescuer, use 30 chest compressions followed by 2 breaths.
Open the airway. Use the head-tilt/chin-lift technique to open the child’s airway.
Give the breaths: Give 2 breaths. Each breath should last about 1 second and should make the child’s chest visibly rise. Avoid blowing too hard or too quickly.
If the chest does not rise: If the first breath does not make the chest rise:
- Reposition the child’s head.
- Make sure you have a proper seal over the child’s mouth.
- Give the second breath.
Do not perform a blind finger sweep if you suspect an airway obstruction.
What if you cannot give breaths? If you are unable or unwilling to provide breaths, perform compression-only CPR rather than no CPR. However, CPR that includes both chest compressions and breaths is recommended for children when the rescuer is able and willing to provide breaths.
Step 6: Use an AED as Soon as It Is Available
An automated external defibrillator (AED) analyzes the heart’s rhythm and can deliver a shock when appropriate. Use an AED as soon as one becomes available.
How to use an AED
- Turn on the AED.
- Follow the device’s voice and visual instructions.
- Expose the child’s chest.
- Attach the AED pads as directed. Use pediatric pads or a pediatric attenuator if available. Make sure the pads do not touch each other.
- Follow the AED’s instructions for rhythm analysis and shock delivery.
- Resume CPR immediately when instructed.
If pediatric pads or a pediatric attenuator are not available, adult AED pads may be used. Make sure the pads do not touch each other, and follow the manufacturer’s instructions. Understanding how to use an AED in pediatric emergencies can help you feel more prepared to use the device correctly when time is critical.
Do not delay or stop CPR while waiting for an AED. Use the AED as soon as it becomes available.
Step 7: Continue CPR Until Help Takes Over
Continue CPR while waiting for emergency medical help.
For a single rescuer, continue the cycle of 30 compressions → 2 breaths. Follow the AED’s instructions when it is connected.
Continue CPR until:
- The child starts to move or shows other signs of life.
- Trained emergency medical professionals take over.
- The AED prompts you to pause for rhythm analysis or other instructions.
- The scene becomes unsafe.
- You are too exhausted to continue safely.
If another trained healthcare professional joins you, the compression-to-breath ratio can change.
Child CPR Numbers You Should Remember
These numbers are easy to remember and very important during an emergency.
| CPR Step | Number |
|---|---|
| Child age | About 1 year to puberty |
| Compression rate | 100 to 120 per minute |
| Compression depth | At least ⅓ of chest depth; about 2 in (5 cm) |
| One rescuer ratio | 30 compressions: 2 breaths |
| Two-rescuer ratio | 15 compressions: 2 breaths |
| Lay-rescuer pulse check | Do not check; begin CPR based on responsiveness and breathing |
| Healthcare professional pulse check | May check for a pulse for up to 10 seconds; do not delay CPR. |
| AED | Use as soon as available |
Keeping these numbers in mind can help you act with confidence.
One Rescuer Versus Two Rescuers
The CPR ratio depends on the rescuer’s role and training.
- If you are alone: Use 30 compressions + 2 breaths. Continue repeating this cycle while following emergency response instructions.
- If two healthcare professionals are performing CPR: When two healthcare professionals perform pediatric CPR without an advanced airway, they use 15 compressions + 2 breaths. One person can perform chest compressions while the other provides breaths. Switching roles can also help reduce fatigue and maintain effective compressions.
Common Child CPR Mistakes to Avoid
Even well-known rescuers can make mistakes during stressful moments. Knowing what to avoid can improve the quality of CPR.
- Waiting too long to start CPR: If the child is unresponsive and is not breathing normally or is only gasping, begin CPR promptly.
- Checking for a pulse as a lay rescuer: Do not spend valuable time trying to find a pulse. Begin CPR based on the child’s responsiveness and breathing.
- Compressing too slowly: Maintain a rate of 100 to 120 compressions per minute.
- Compressing too shallowly: Push to at least one-third of the child’s chest depth, approximately 2 inches (5 cm).
- Leaning on the chest: Allow the chest to fully recoil after every compression.
- Giving breaths too forcefully: Give each breath over about 1 second and use only enough air to make the chest visibly rise.
- Taking long pauses: Keep interruptions in chest compressions as short as possible.
- Forgetting the AED: Use an AED as soon as it becomes available and follow its instructions.
Child CPR vs. Infant CPR vs. Adult CPR
CPR techniques differ according to age.
| Aspect | Child CPR | Infant CPR | Adult CPR |
|---|---|---|---|
| General Age | About 1 year to puberty | Younger than 1 year | Puberty and older |
| Compression technique | One or two hands | One hand or two-thumb encircling technique | Two hands |
| Compression depth | About 2 in (5 cm), at least ⅓ chest depth | About 1.5 in (4 cm), at least ⅓ chest depth | At least 2 in (5 cm) |
| Compression rate | 100–120/min | 100–120/min | 100–120/min |
| One-rescuer ratio | 30:2 | 30:2 | 30:2 |
Be Prepared to Save a Child’s Life with CPR Training
In short, in a child CPR emergency, knowing the basic steps can help you respond quickly and give the child the best chance of receiving timely care. Make the area safe, check for a response and normal breathing, start chest compressions when needed, give rescue breaths, use an AED as soon as it is available, and continue CPR until trained help takes over. Try to stay calm and focus on steady compressions, proper breaths, and following the AED instructions. Child CPR can feel overwhelming, but taking action promptly is far more helpful than waiting because you are unsure.
If you want to feel more confident responding in an emergency, Same Day CPR offers CPR classes in BLS, ACLS, and PALS to help you build the skills you need. Consider getting certified today so you’re ready to act when it matters most.